HOME • NATURAL HISTORY • BOOK ARTWORKS • PEN & INK • INK PRINTS • COLORED ART • ART SHOWS • PAINT NITE • BIO • CONTACT • LINKS
How to Create Galaxy Paintings
|
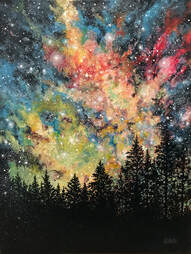
Galaxy Forest
(Paint Nite) |
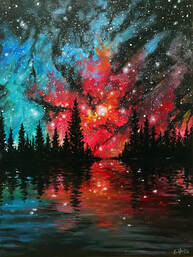
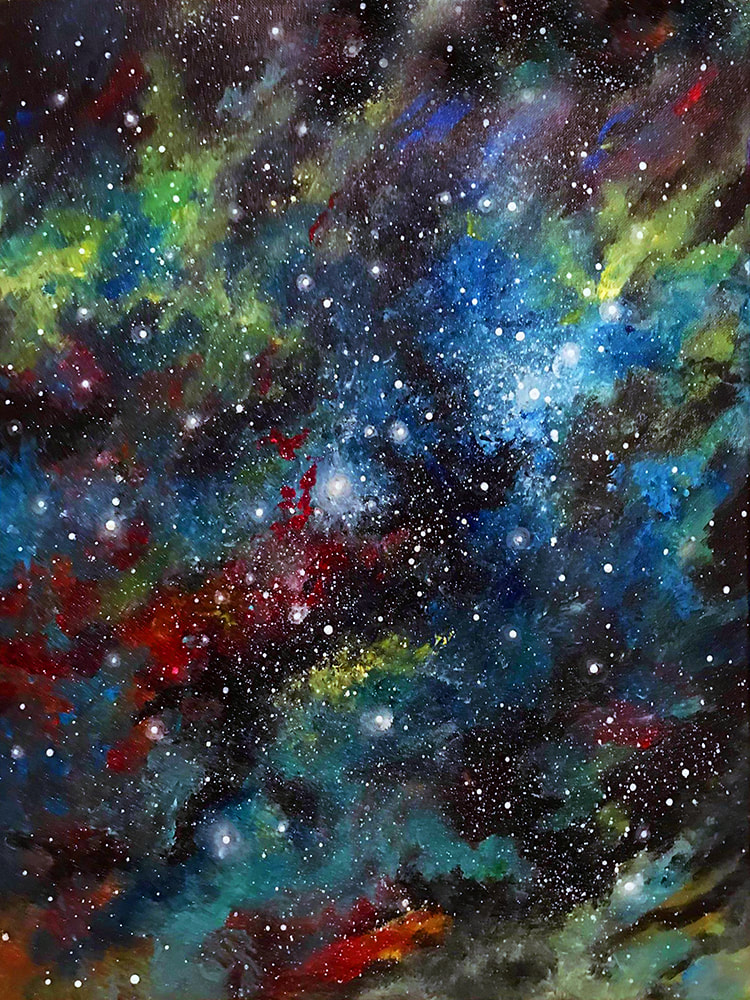
Creating galaxy paintings appears more difficult than it actually is. In my experience, the galaxy portion of these paintings takes a maximum of between 1 hour and 1 hour and 15 minutes to complete. It is a fast and fun painting to create. Below is a step-by-step guide of how to create Galaxy Paintings. Click on the below photos to enlarge.
NOTE: Remind people to not hold back with their color usage. Be bold and be brave with color usage as this makes better results for a better finished painting. (If you have questions, click on the contact link at the bottom) |
|
• Click on the below photos to enlarge •
|
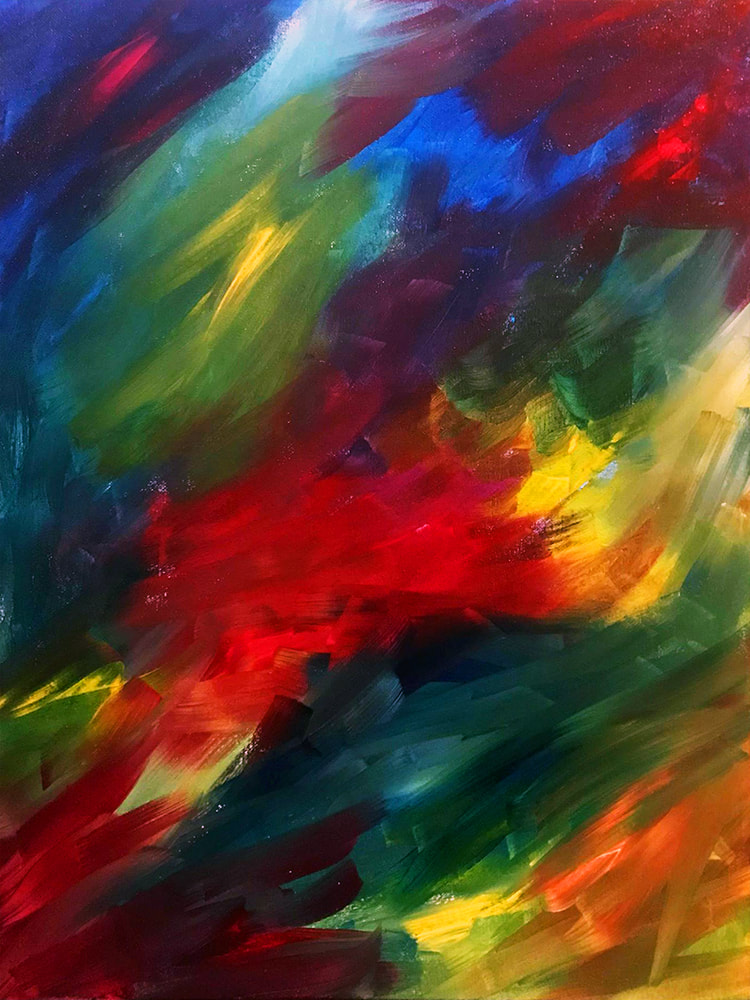
STEP 1: Start a galaxy painting by adding random areas of color using your large, flat brush.
DO NOT ADD Black paint at this stage of the painting. Black paint (Deep Space) is added in STEP 2. Where the colors end up is up to the artist. There is no need for blending; no need for careful placements of color unless you trying to create a special effect. At this stage, the colors only serve as a color base or as holding colors. Paint colors will be change drastically in STEP 3. |
|
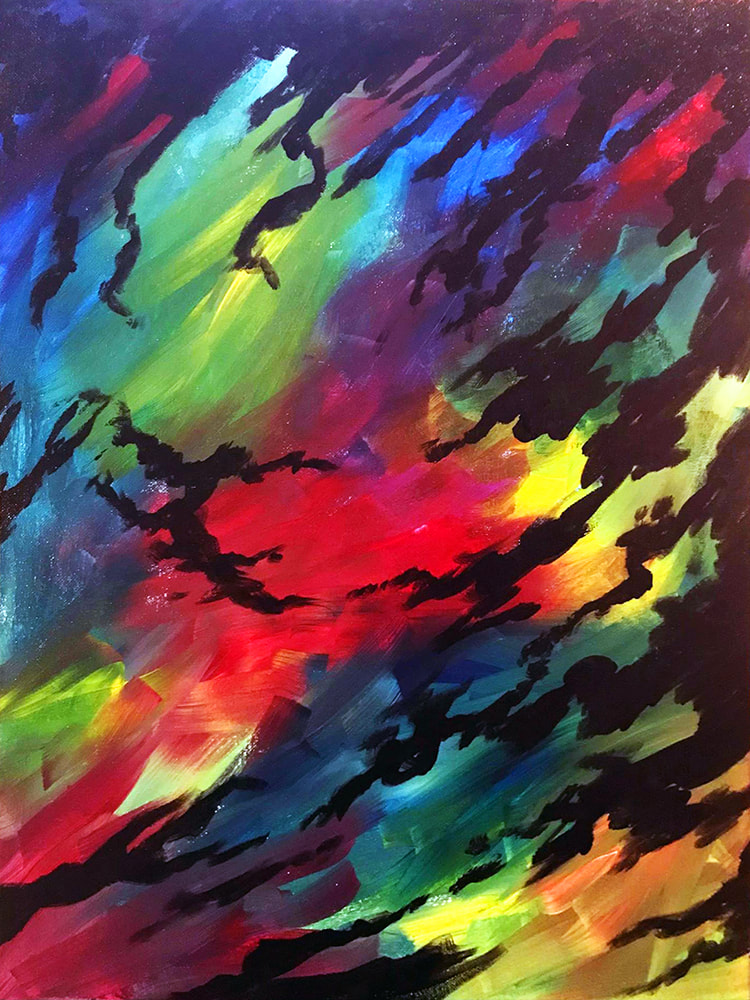
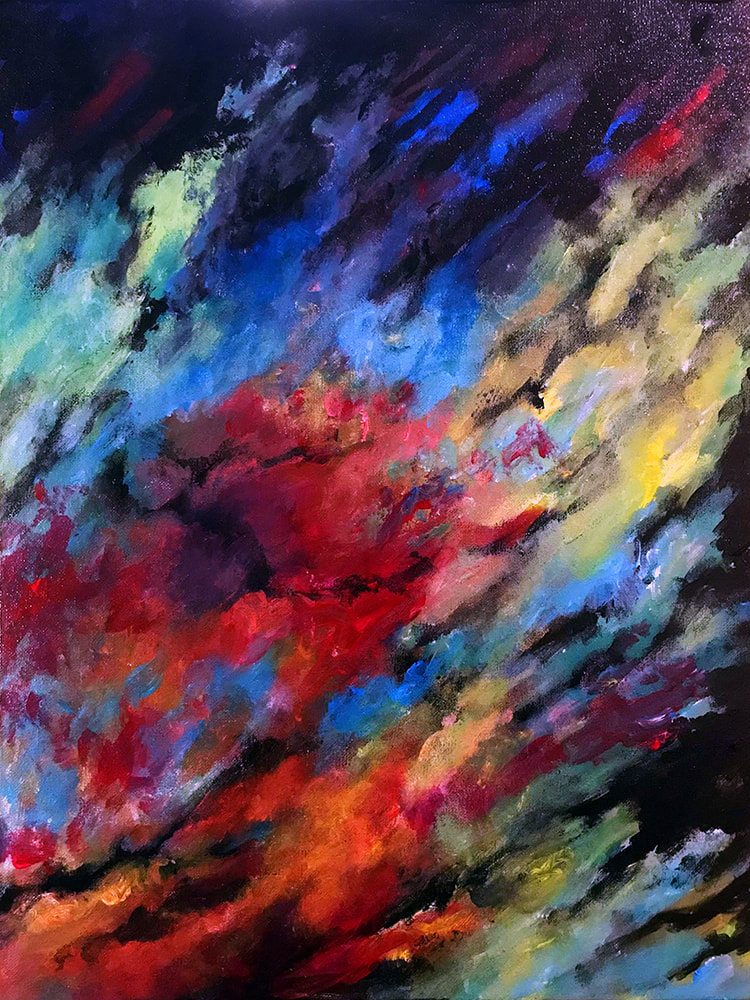
STEP 2: Creating Deep Space. Add black paint. The paint from STEP 1 may still be wet. You can paint over the wet paint to the a short break to allow STEP 1 to dry first (your chioce) represents open space. Random placement is desired but most of the black paint should be in the top portion of the painting. DO NOT paint straight lines. People have a tendency to paint straight lines during this stage but this will not look natural when the painting is completed. Good results with this type painting favors the brave and chaotic painter. Ragged black lines are much preferred. Make the black areas as random looking as you can.
|
|
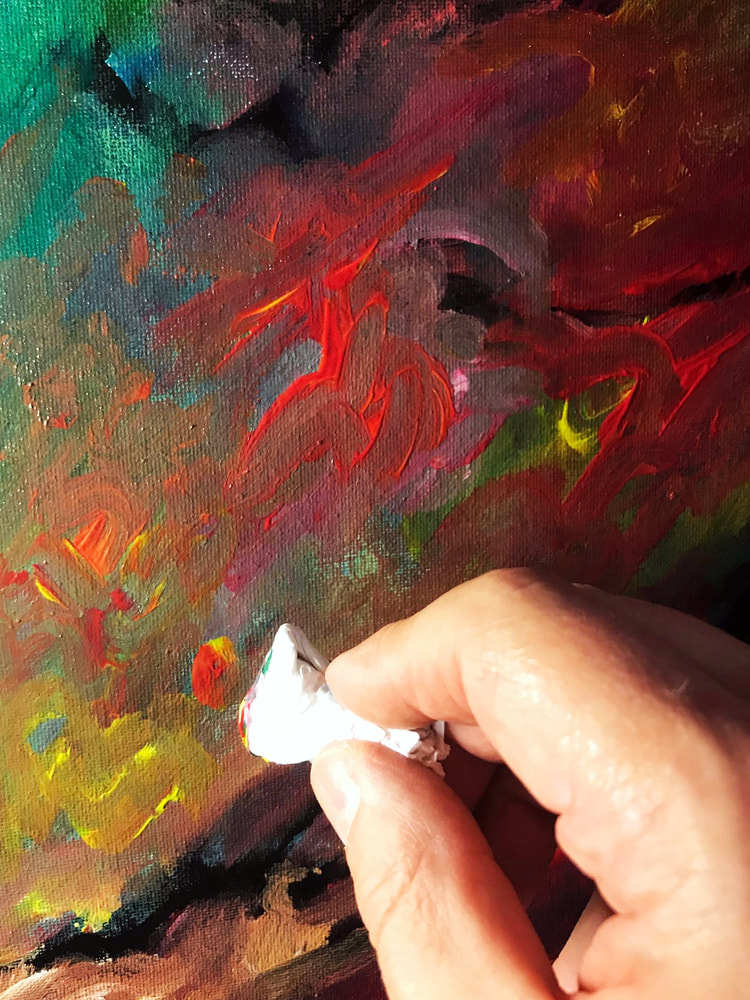
STEP 3: Adding more Color to Creating Randomness. Crush a piece of paper towel into a wad and use it to dab and smear paint onto the canvas. The paper towel is now your brush. You can and should add straight colors of paint directly onto the canvas with little to no premixing. Example: Add red/orange to a red area; add white with green to a green areas; add blue with white to a blue area.
The idea is to add as much detail to the Step 1, the color base, as possible. Don't be shy; work fast. Good end results favor the brave. Add depth to the color: change a previously pure yellow area by adding light white/yellow highlights and by also adding darker yellow/orange paint to the same area. It is these color value variations that will add depth to your painting. |
|
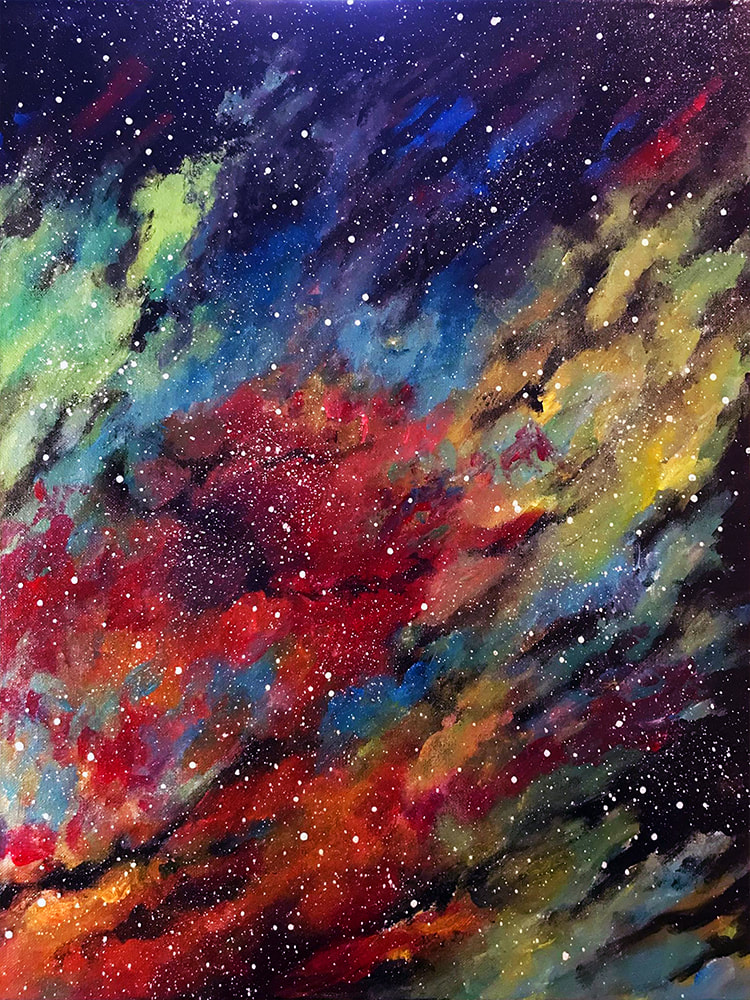
STEP 5: Add Stars. Now you add the stars to your painting. You can easily do this while your painting is still wet. Stars can be added using various techniques. For large stars use the butt end of your smallest brush handle to add a few random larger stars. Watered down white paint works best when rendered down to 50% water/50% white paint. There are some methods of splattering the paint that work better than others. Some techniques give you more control with far quicker clean up after your painting event. Experiment. Have fun.
NOTE: Do not flick your brush as if you are sword fighting. Paint will travel over 6ft using this method and that will result in a messy venue that you will be cleaning up afterward. TAKE A BREAK AFTER STEP 5: Let the paint dry. Drink some wine. Relax. Take a deep breath. |
|
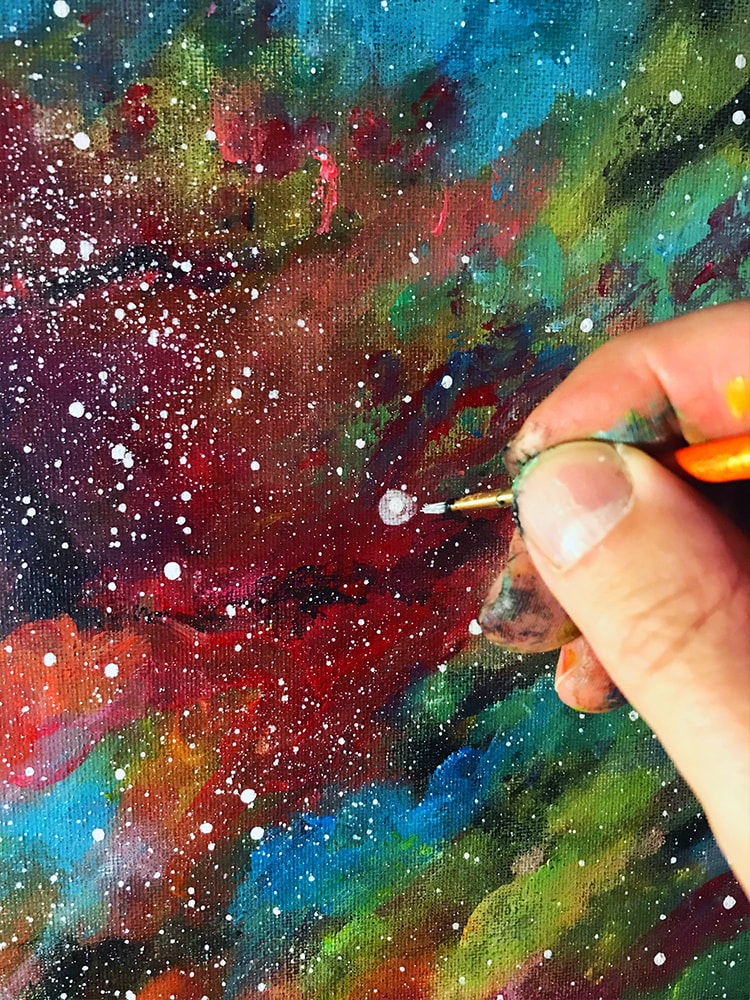
STEP 6: Add Star Glow. Once the paint is dry, add flares around a few of the stars to create a glow effect. The best method I have found to achieve this is to use watered down white paint, and using your small round brush, paint lightly around a few of the stars. Smudging, using your finger after each brushing while the paint is still wet, in a circular motion, works extremely well. Repeat paint as necessary. Have fun.
At this point you can add details to the painting as necessary using your small round brush. You may add color where needed or reintroduce black paint in strategic locations. Drink some wine. |
|
STEP 7: Completed. You galaxy rendering is complete. It takes about 1 hour to complete the galaxy portion of a painting from start to finish. It can take some people a bit longer. From experience, 1 hour and 15 minutes is the maximum amount of time required although a few people will finish earlier while one or two can take a longer. A number of people will do extremely well. It is a bit challenging but I have seen impressive results many time over with most patrons leaving extremely happy with their completed paintings. |
