CLASS NO. 5
October 30, 2021
ERIC HOTZ: ART CLASSES AT LANGLEY ARTS COUNCIL
NOTE: COVID protocols are in place. LAC requires masks to be wore. Hand sanitizer is provided.
|
My painting classes teach students the basics of painting and includes standard techniques, plus a few lesser known techniques and tricks. I will also discuss the history behind the painting style of past painting masters that are similar to whatever art we are currently creating. I run intro to painting classes that are designed to fit into a three hour class. I believe in most cases, students will have ample time to comfortably complete their paintings. Painting should always be fun and creative.
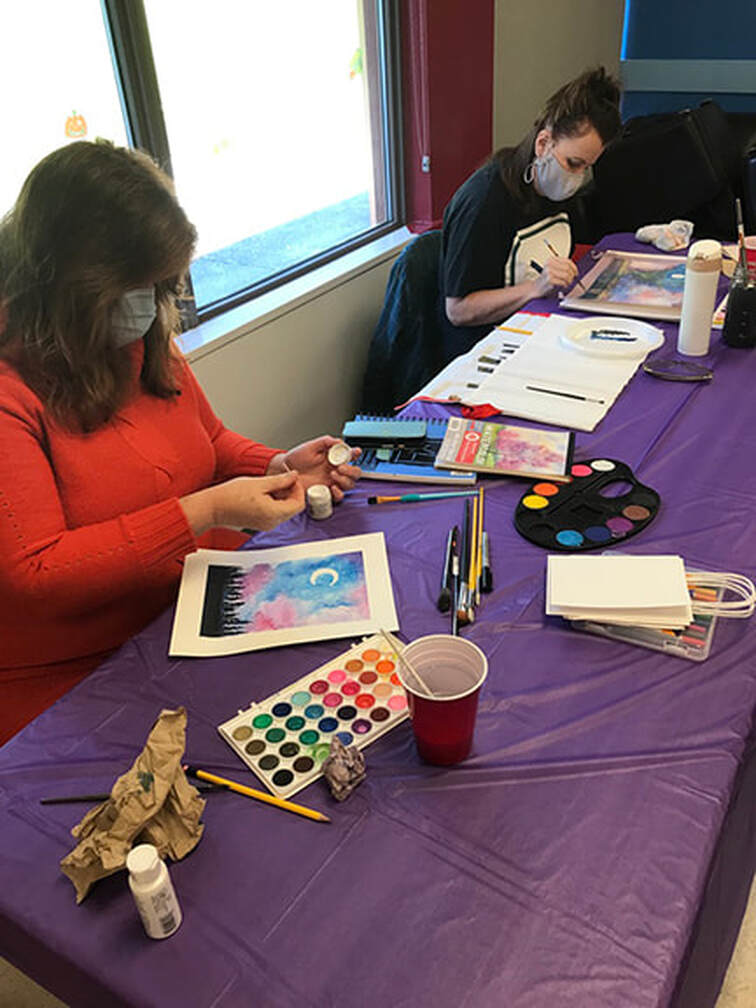
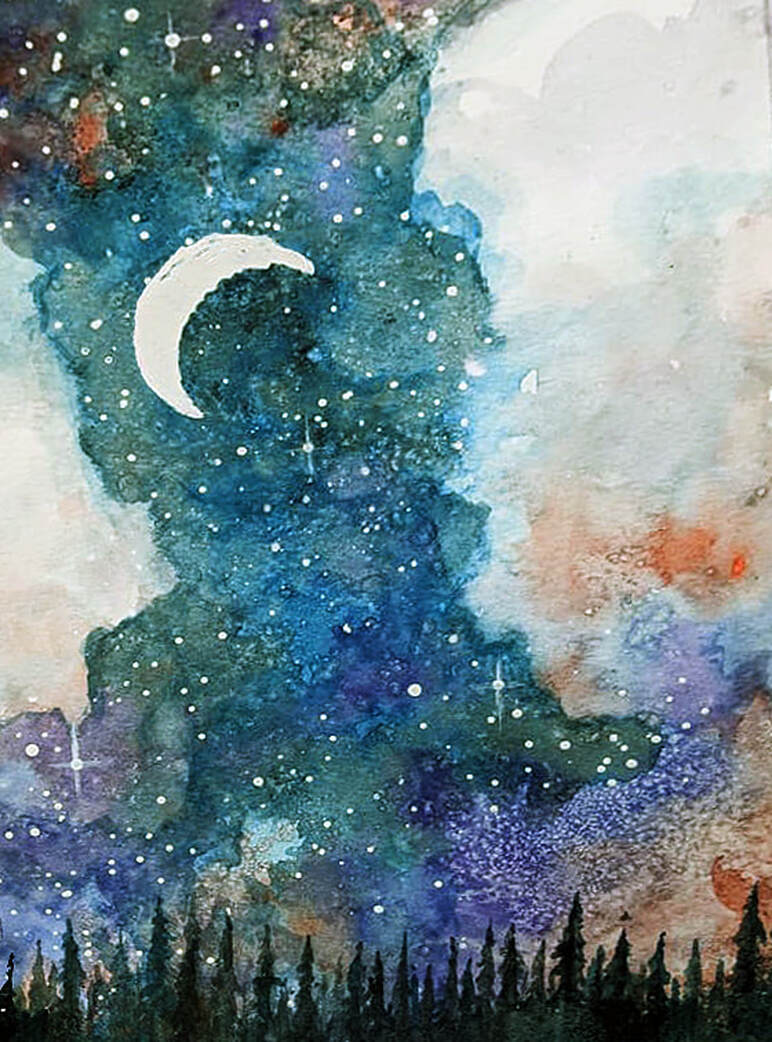
My fifth painting class was the first day of watercolour painting. My students have transitioned from painting onto canvases to painting onto watercolour paper. A colourful, fantasy, landscape sky painting was the order of the day. There were a few techniques and effects in play within this painting. Over all, it was a fun 3-hour class for everyone.
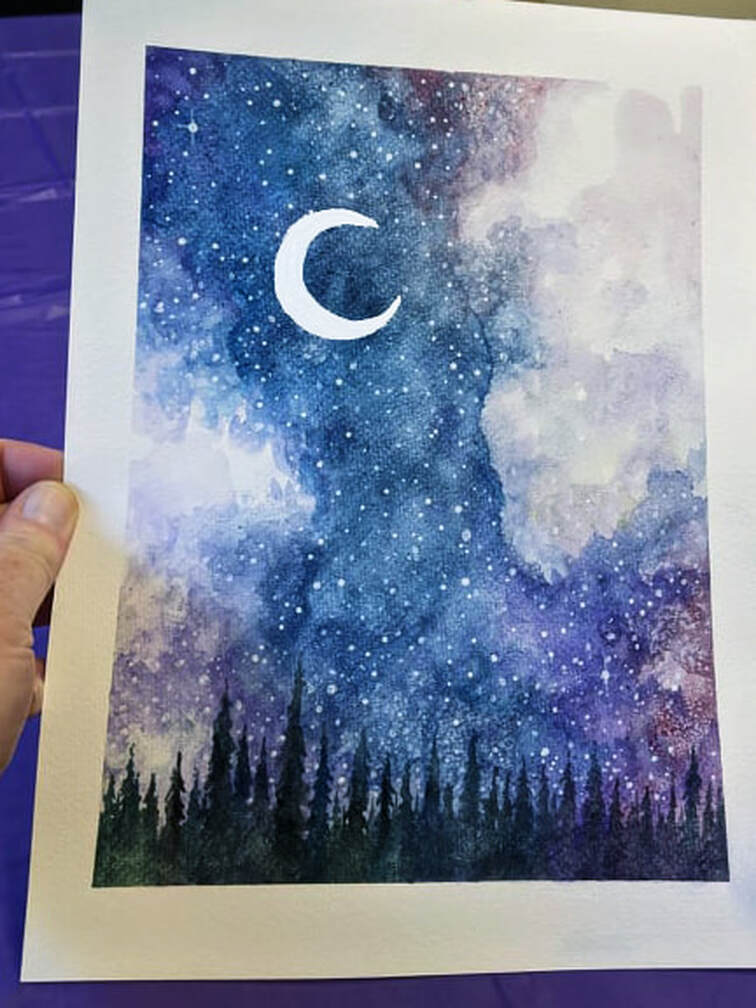
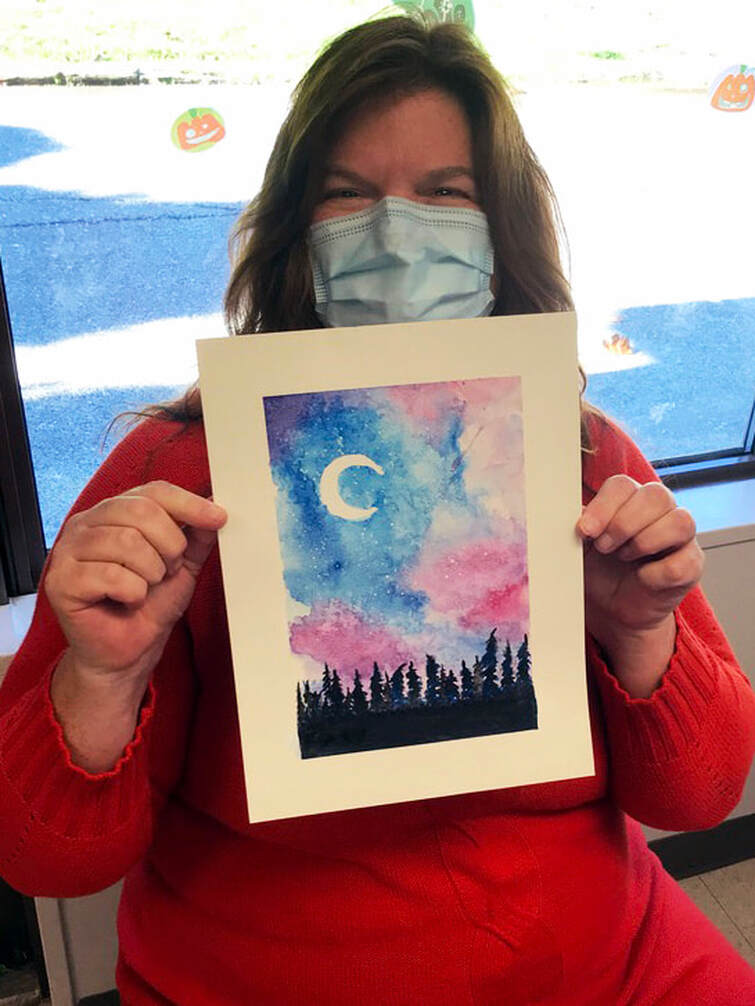
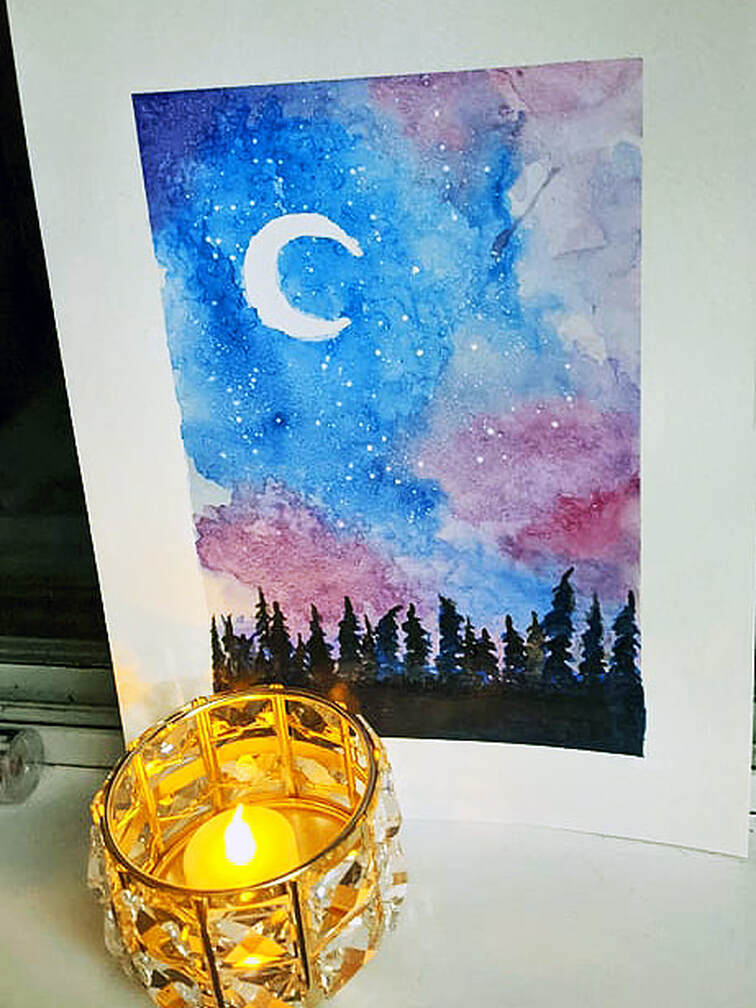
Today's painting lesson's target art. This is a watercolour painting landscape with a fantasy flare to it. I taught how to create fantasy effects with a few watercolour tricks.
Everyone enjoyed this sort of creation and the end results showed.
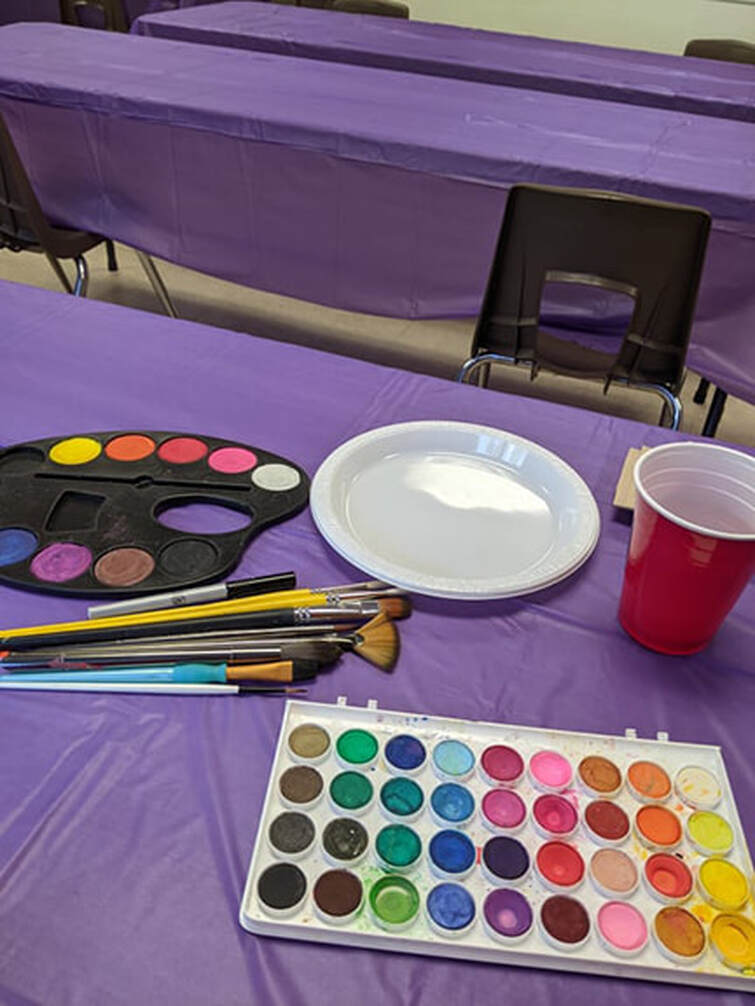
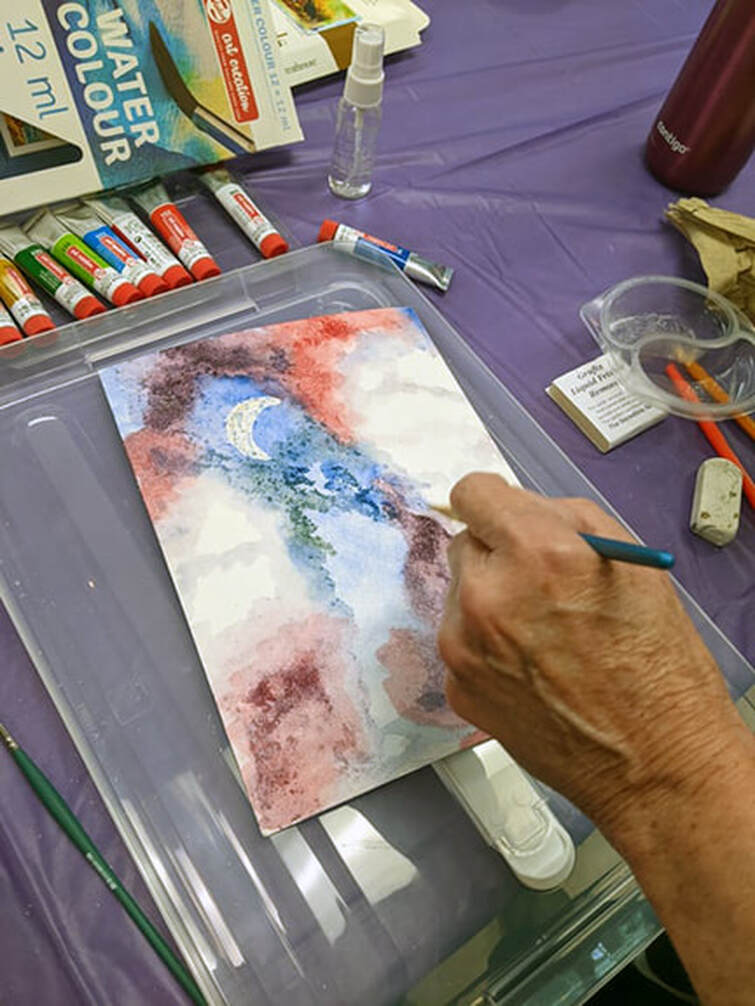
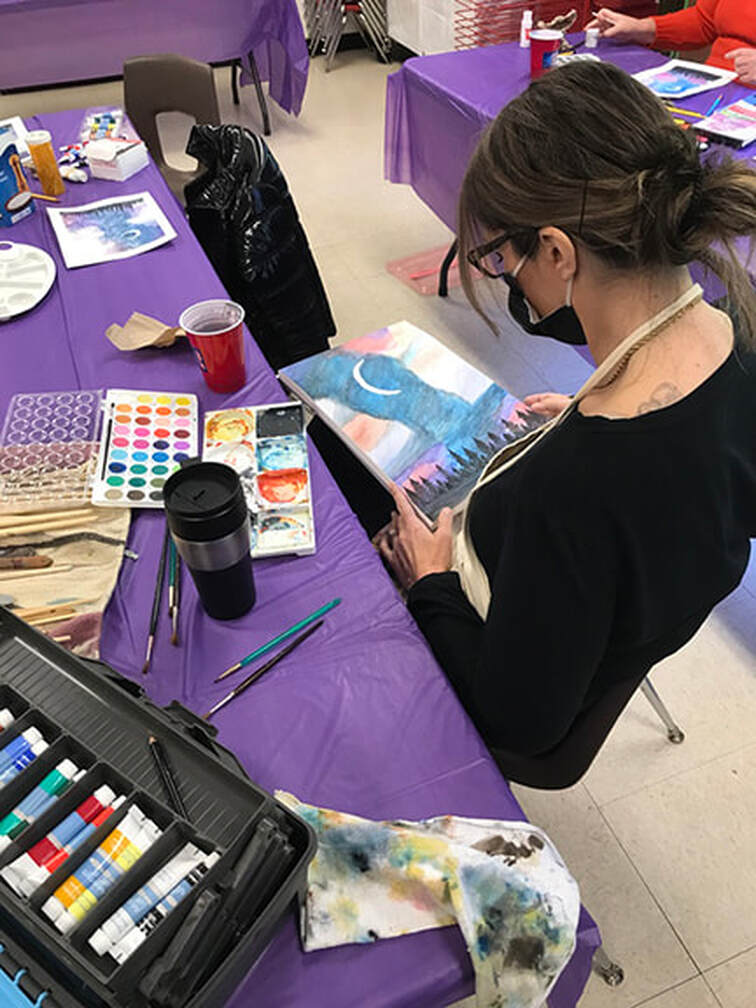
Watercolours come in a variety of forms from tablets (above) to paints in tubes. There are even water based oil paints available to experiment with at the various art stores.
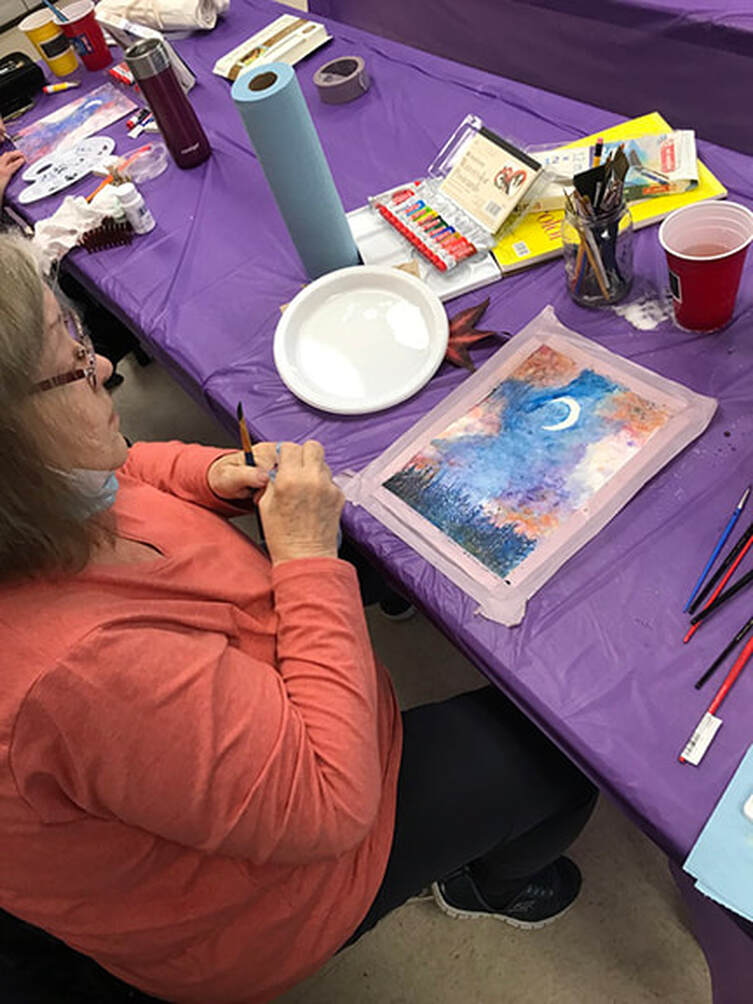
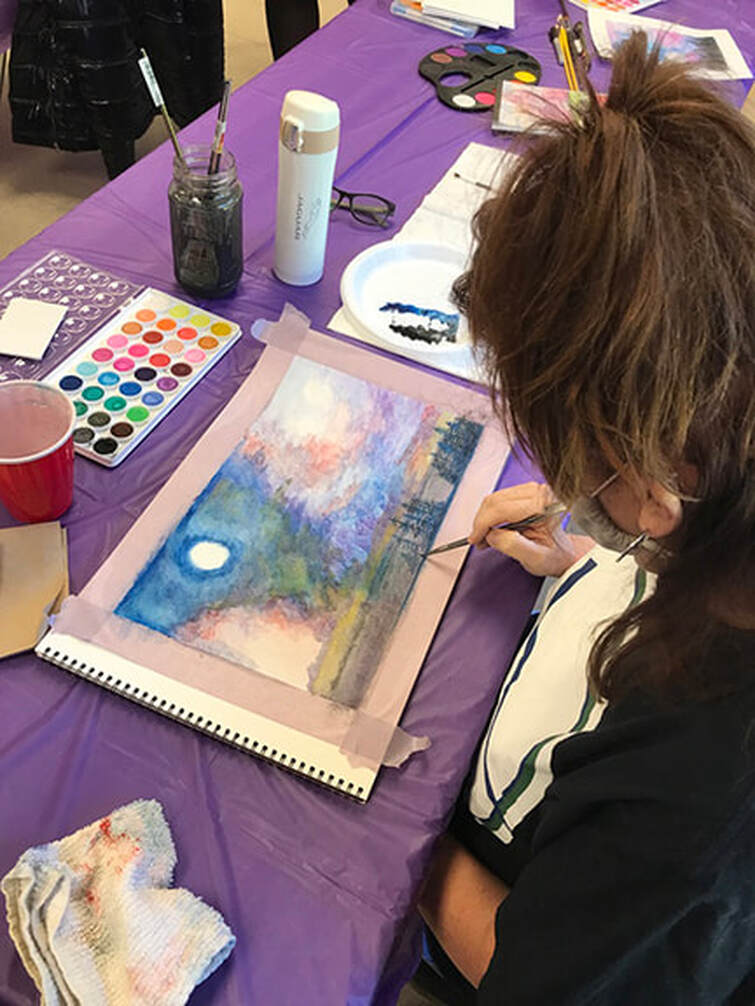
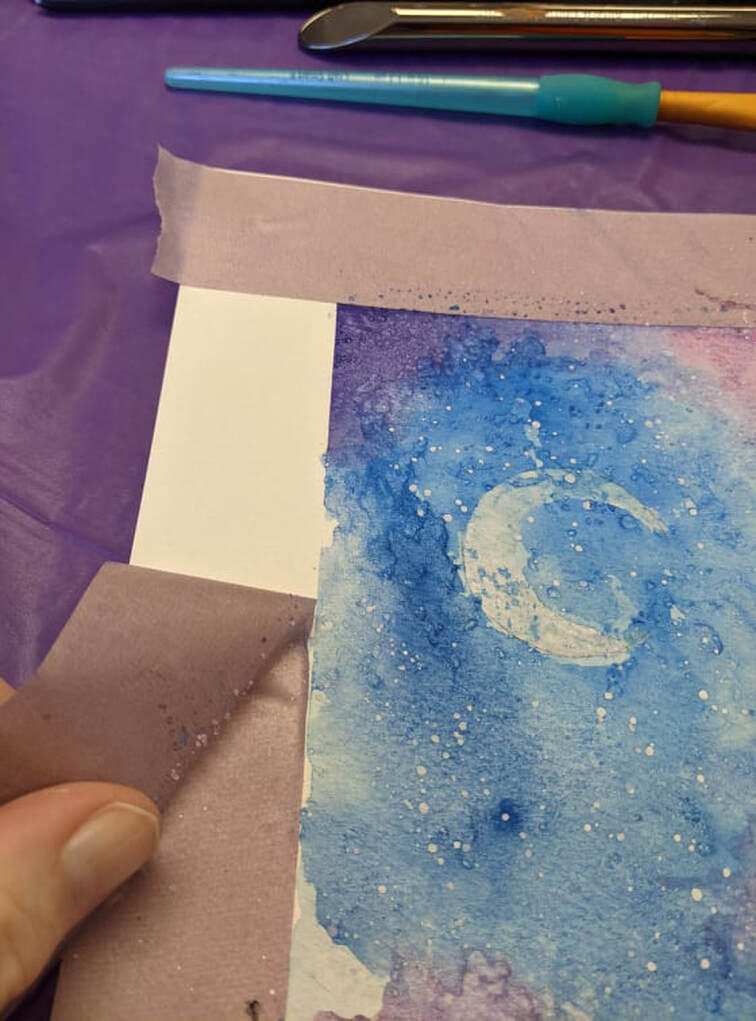
Masking the paper's edge with low-tack tape gives a final, professional look to one's art.
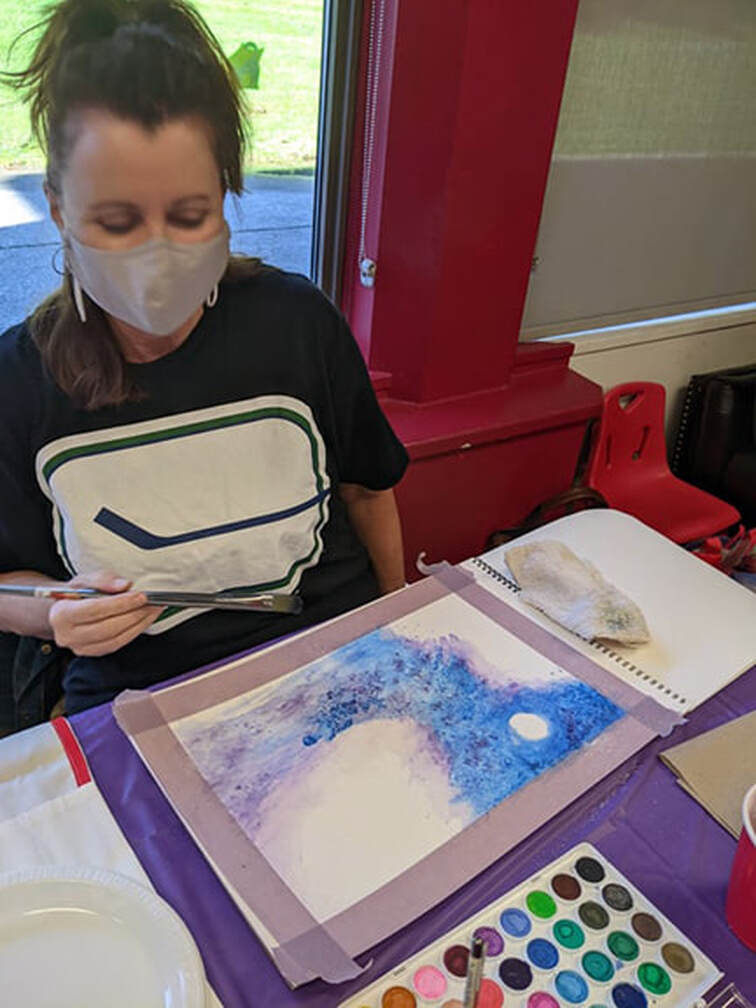
Several watercolour techniques were explored and experimented with for this art piece. The end results were impressive.
Creating art is both enjoyable and rewarding. It is always nice to see everyone express themselves when it comes to creating art.
Creating and following one's vision of their art is always appreciated to see in an art class.
Having fun with art and art expression.
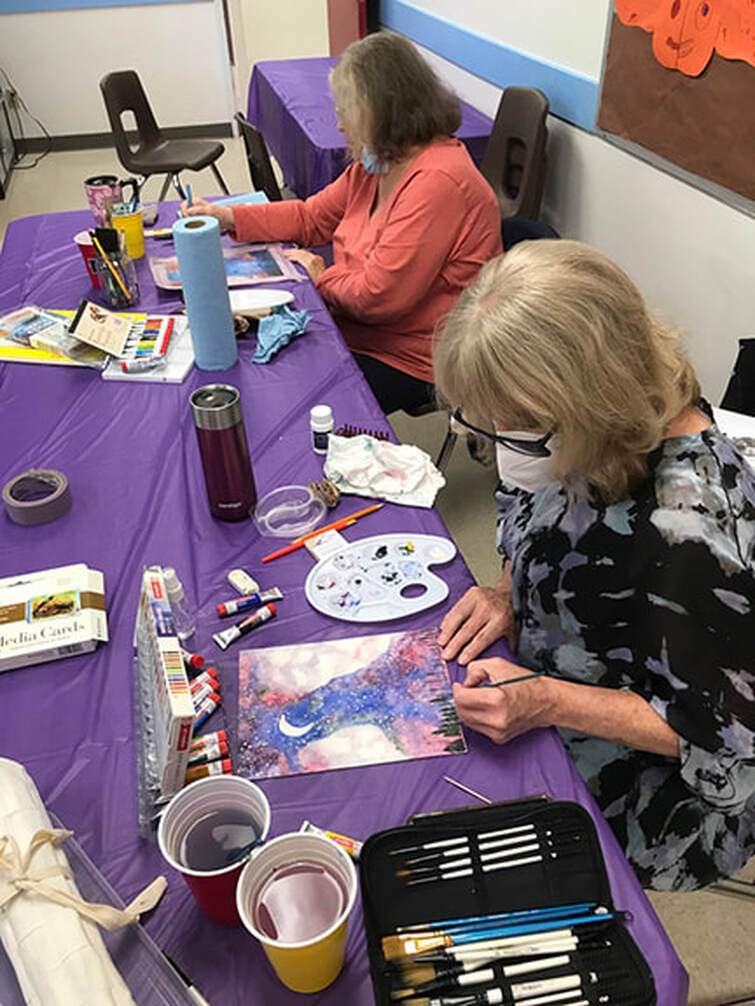
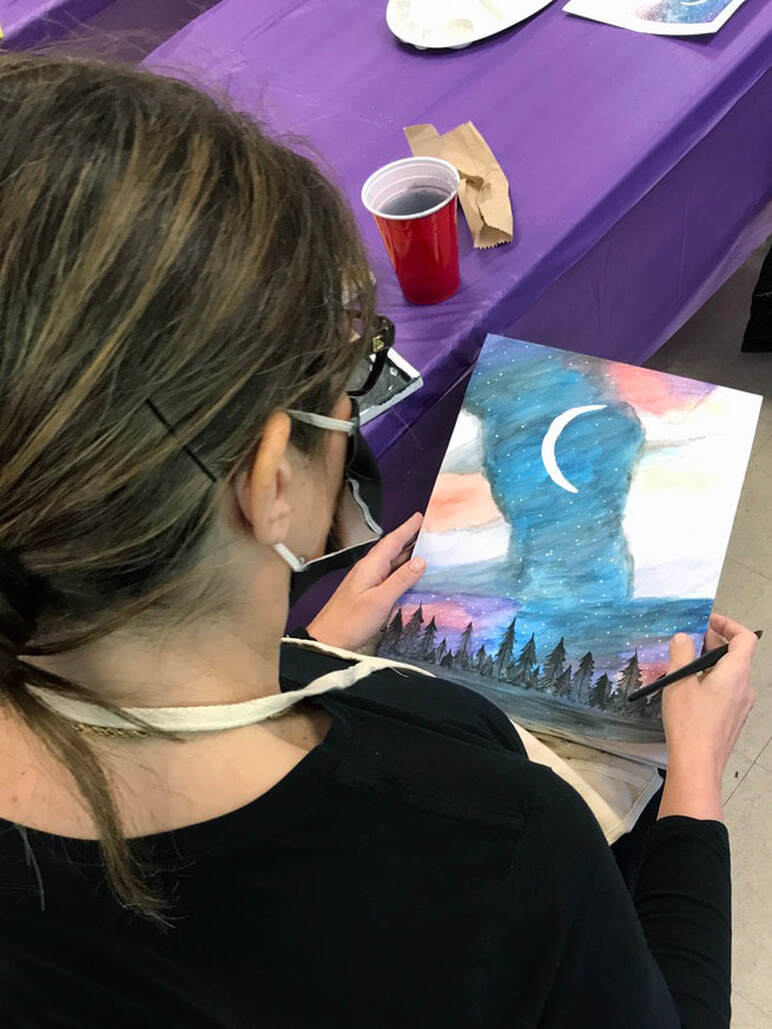
Social distancing is always observed. After 15 minutes, everyone forgets they are wearing masks and are focusing on their art.
To achieve clean white borders around your art, use low-tack tape. Be aware that low-tack tape can still tear paper. Always test your watercolour paper first (example: test on the reverse side) before you start your art. Never leave the tape attached for more than 2 or 3 days at most. The adhesive in the tape will slowly soak into the paper strengthening the bond.
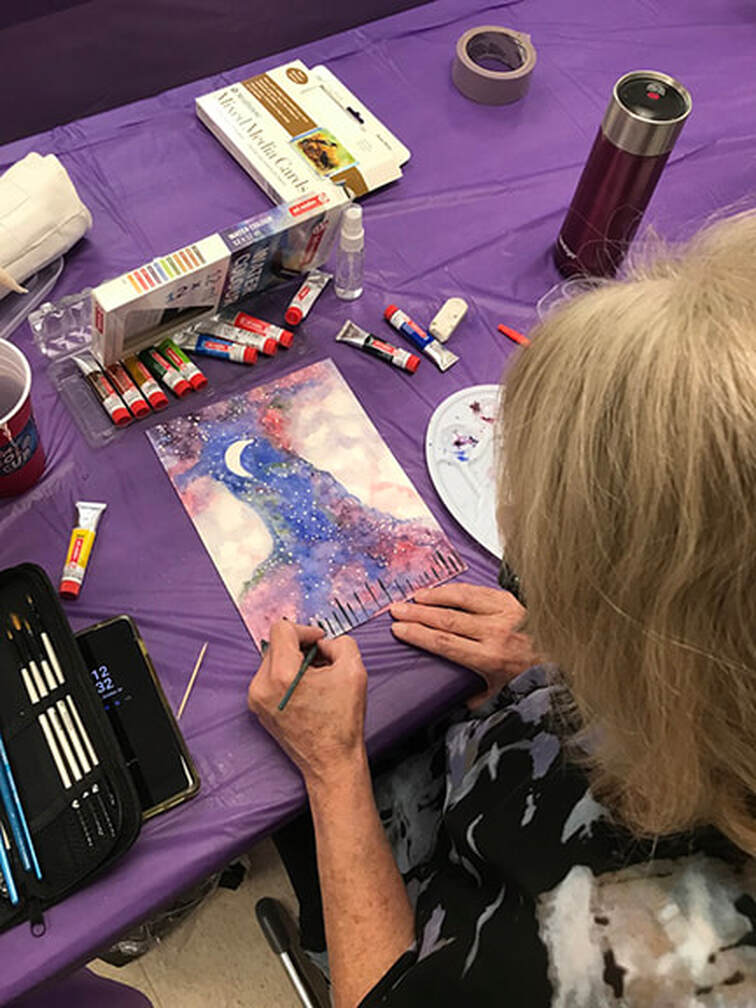
Several watercolour techniques were demonstrated and used with the artwork.
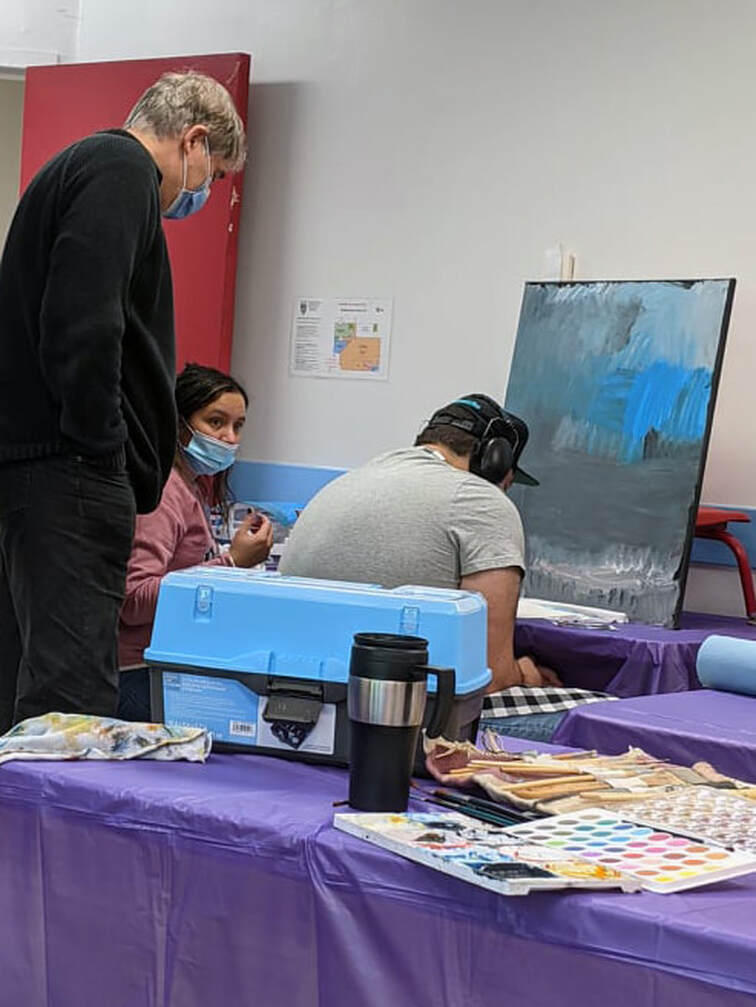
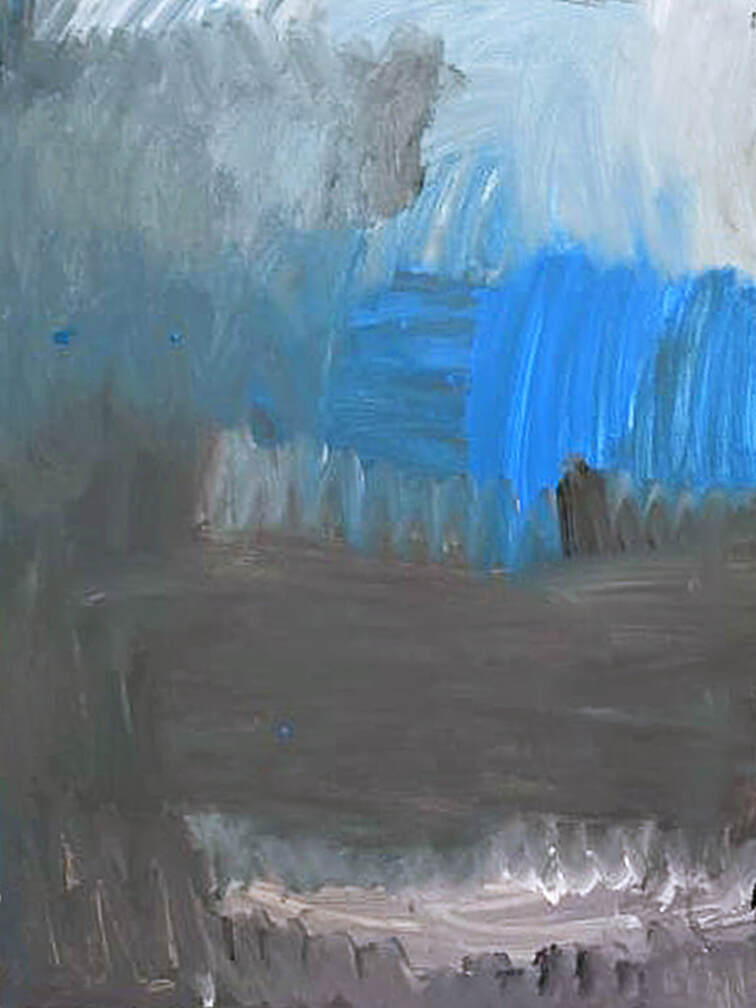
While watercolour painting was the order of the day, students may paint whatever art they feel they want to explore. In this case, one student wanted to paint in acrylics and did an amazing abstract painting.
The above painting is an abstract acrylic painting on a 20x30-inch canvas. The important part of painting is that the artist enjoys creating. This painting was rendered by a student who prefers working in acrylics than watercolours. This is OK because painting is the important part and they are in a painting class.
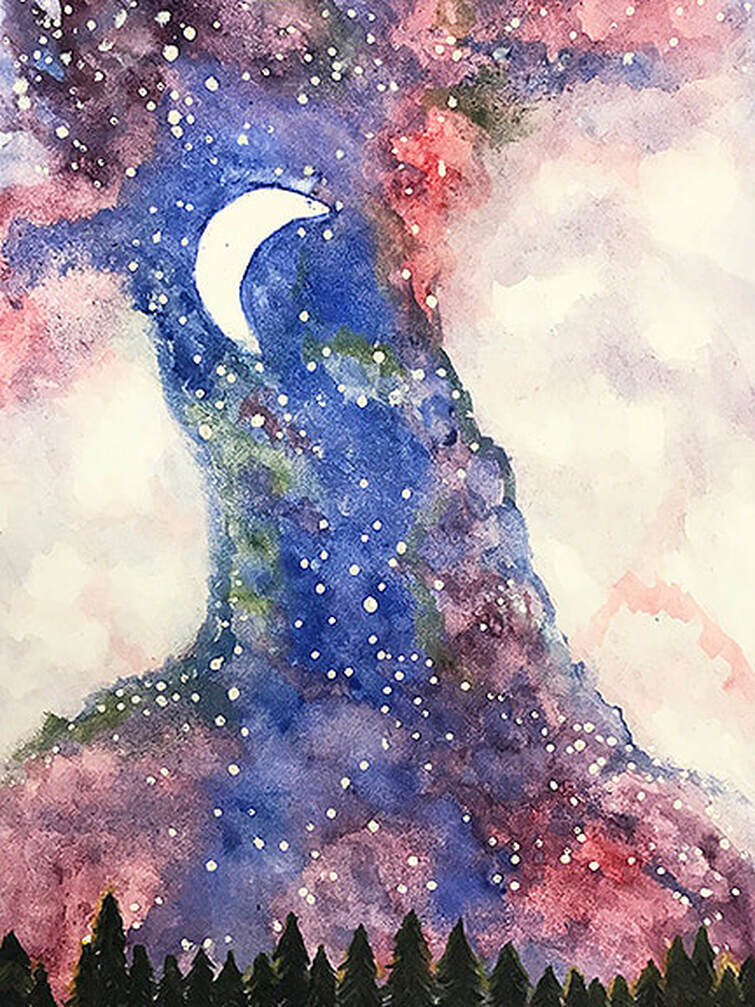
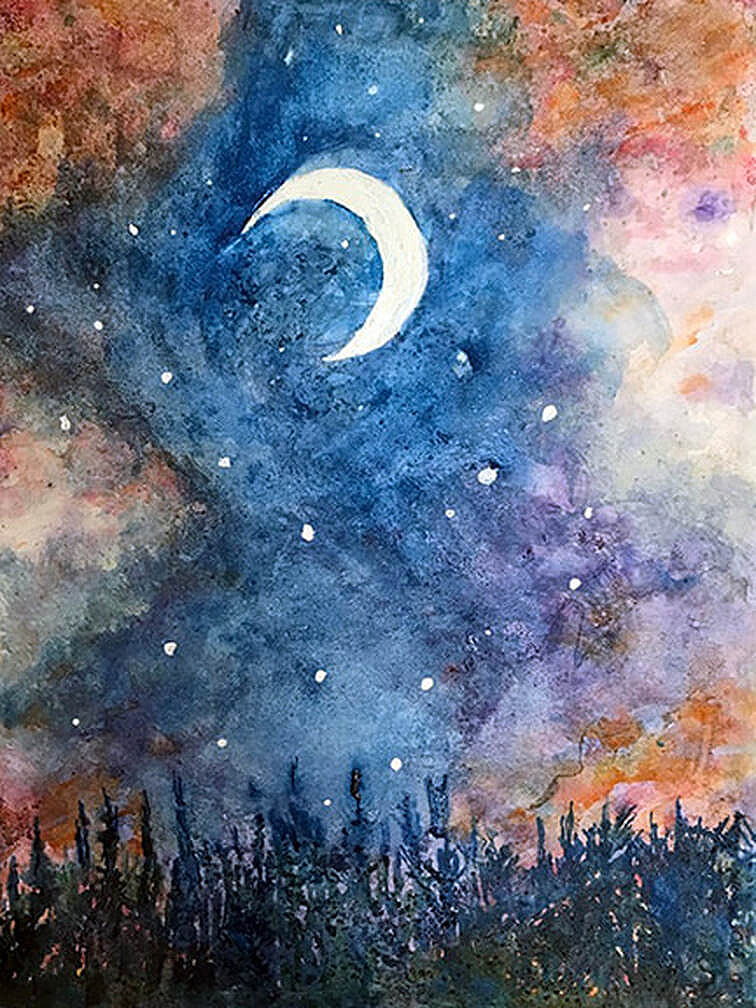
One of my student's finished paintings.
One of my student's finished paintings.
One of my student's finished paintings.
Everyone has a slightly different interpretation of the original art.
Very nice artwork nearly completed!
Creating art comes from the soul and should be expressed often.
STRETCHING WATERCOLOUR PAPER
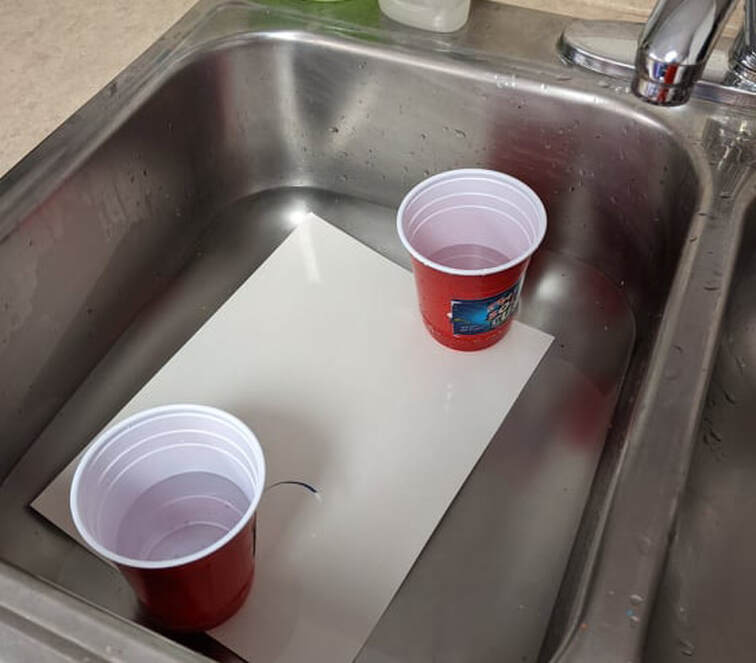
Stretching watercolour paper, for many, is an unknown technique. Having gone to art school for five years, it was only taught in one of the art schools I attended. I was taught a method while I attended art classes in high school but it was only partially successful. The best method I came across, the method I use, is to soak the watercolour paper in water weighted down with cups filled with water making sure the paper remains completely submerged. For large sheets of watercolour paper, I will use my bathtub for this and use clean ceramic mugs filled with water to completely submerge the paper. The paper will expand and may breach the surface of the water. Readjust after 10 minutes of being submerged to ensure the paper remains underwater for at least 20 minutes.
The above photo shows the paper soaking completely in the lukewarm water while being held down by two clean cups filled with water. NOTE: Paper must be COMPLETELY submerged; do not use hot water.
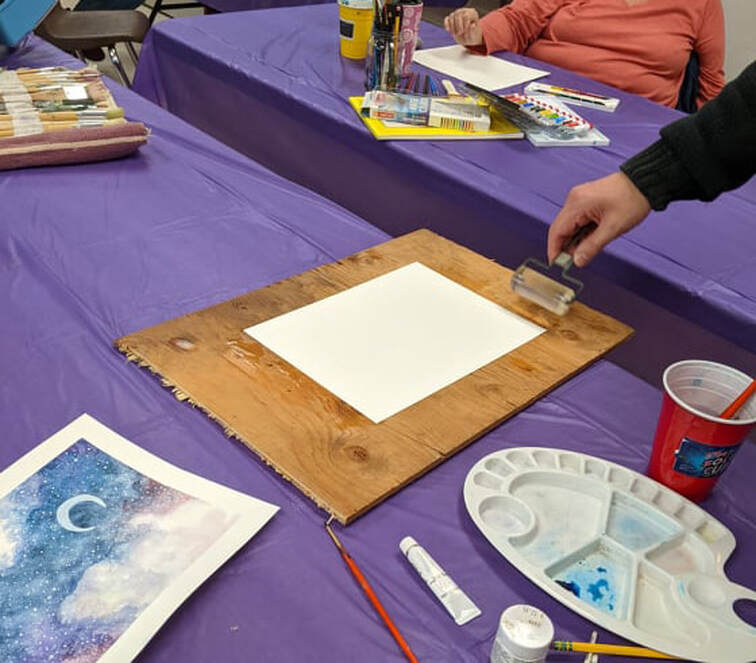
Once removed from the water after having soaked for a minimum of 20 minutes, place the paper onto plywood. I use a roller to ensure the paper is flattened with no air/water bubbles underneath.
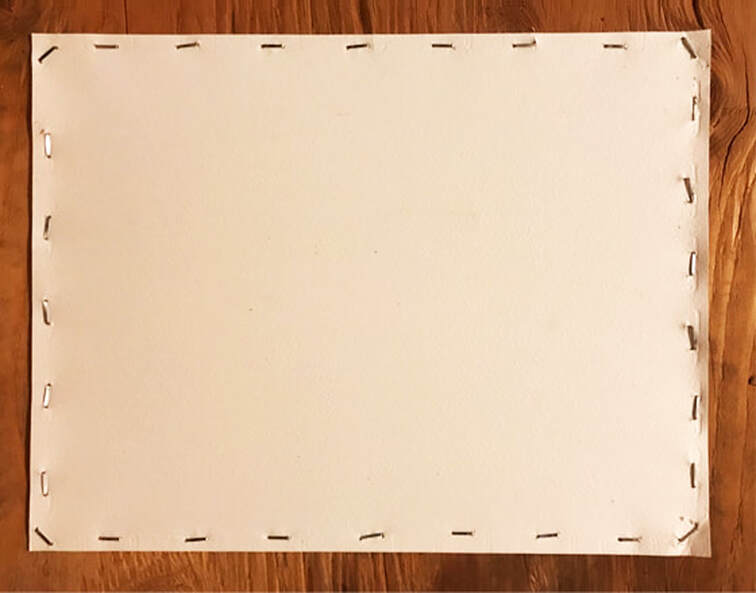
Then, using a staple gun, I staple the wet watercolour paper to the board. I apply a staple every 1-1.25 inches along each length of the paper. Place the plywood with the attached paper on a flat surface, like a table, to dry. I usually allow the paper to dry overnight. NOTE: Make sure the plywood and paper are laying flat. Wet paper will expand slightly in size and then, when dry, will shrink back to its original size and flat state. This stretching method will make your watercolour paper remain flat and wrinkle free while you are creating your art.
Once your artwork is complete, allow time for it to dry. Once dry, your watercolour paper will be flat. If your paper does warp slightly while you are painting, it will be minimal and will return to a flat state once dry again. To remove the artwork from the board, use a boxcutter knife. I carefully cut the art out using a ruler, cutting close to the staples and leaving them and the outer edge of the watercolour paper remaining. I then remove the staples using pliers. My success rate of stretching paper is 100%. I have never experienced a failure. NOTE: Make sure staples are no further apart than 1.25 inches. Note the facing of the corner staples, which is done to maximize against tearing as the paper dries. I use 140lb watercolour paper or heavier. Lighter paper may tear while it dries. Paper size in photo is 9x12-inches. I have stretched up to 18 x 24-inch sheets of paper using this method. You are only limited by the size of the board you are stretching your watercolour paper onto. The staple size I use is 6mm long, which I believe are the shortest staples available and allows for easier extraction so you can reuse your stretching board over and over again. SPEED DRYING WATERCOLOUR PAPER
To dry your stretched watercolour quicker, I suggest using a hairdryer. The hair dryer will work well but you must dry the stretched paper while it is laying flat. Make sure you dry the entire paper surface evenly. If you dry the paper unevenly, one side may dry quicker and will pull and tear the wet side (this can happen). You can dry a sheet of watercolour paper within 10-15 minutes using a hairdryer depending on the paper weight and size.
|
HOME • NATURAL HISTORY • BOOK ARTWORKS • PEN & INK • INK PRINTS • COLORED ART • ART SHOWS • PAINT NITE • BIO • CONTACT • LINKS
